
Triklet download and setup instructions
Requirements
Since Triklet works on top of the BardCanvas engine, it has the same base requirements:
-
Apache web server with
mod_rewriteenabled. - MySQL, MariaDB, Percona or any MySQL based database engine.
-
PHP 5.3 pr better (PHP 7 hasn't been tested) with the next modules enabled: zip, ftp, mcrypt, mbstring, xml, curl, gd, imap and memcache.
Also,php.inimust haveshort_open_tag = on - A database to hold all triklet data, and a user name and a password to access to it.
Download the installer
Triklet bundle and modules are published on the BardCanvas website.
You can download the automated install script, but you will be required for a
BardCanvas Download Token when running it.
For you, your Triklet License Key is your download token.
Please download the installer script from the next URL to your desktop:
http://bardcanvas.com/download/installer.zip
Once you get it, extract the install.php file and upload it to the document root of your server using an FTP client
or any other means you have at hand.
Run the installer script
Point your browser to the installer script (http://www.yourdomain.com/install.php). You'll get the next screen.
Fill the form and hit on the "Proceed" button at the bottom.
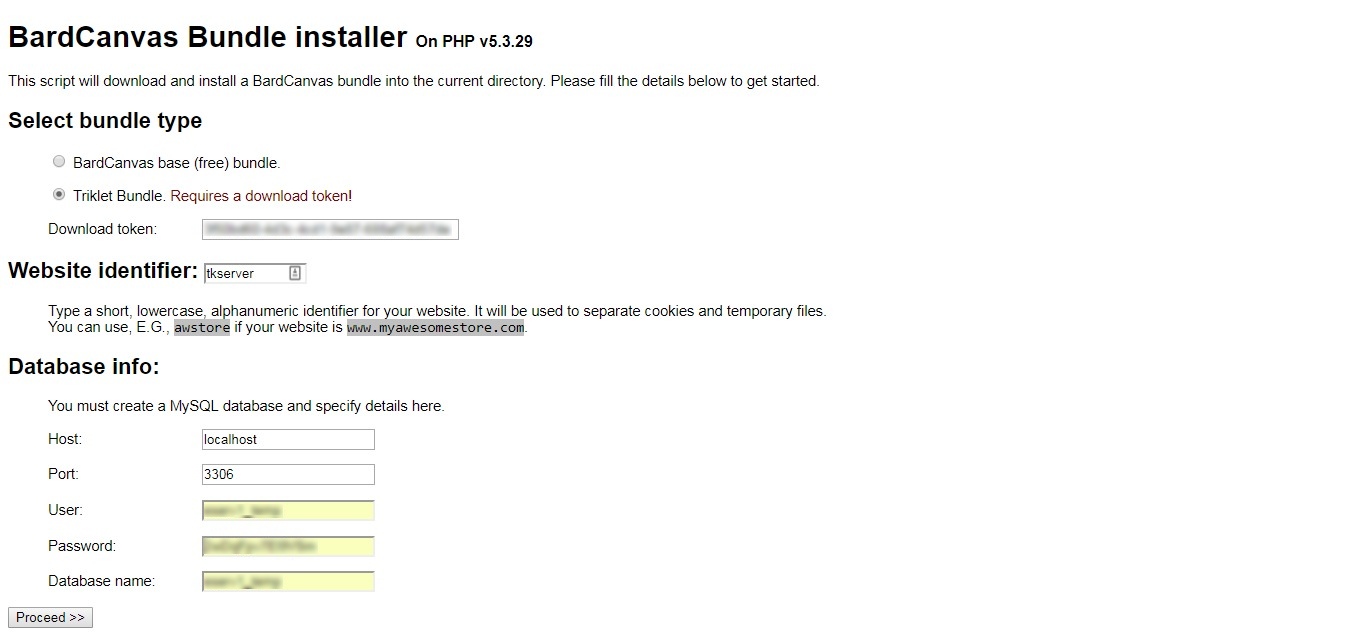
If no issues are found, the script will download the package,
extract it and generate a config.php file for you in a few seconds.

Just click on "Continue" to get the setup screen.
Review requirements
The setup script will check for any specific requirements and, in case that something is missing, it will show instructions on how to fix it before continuing.
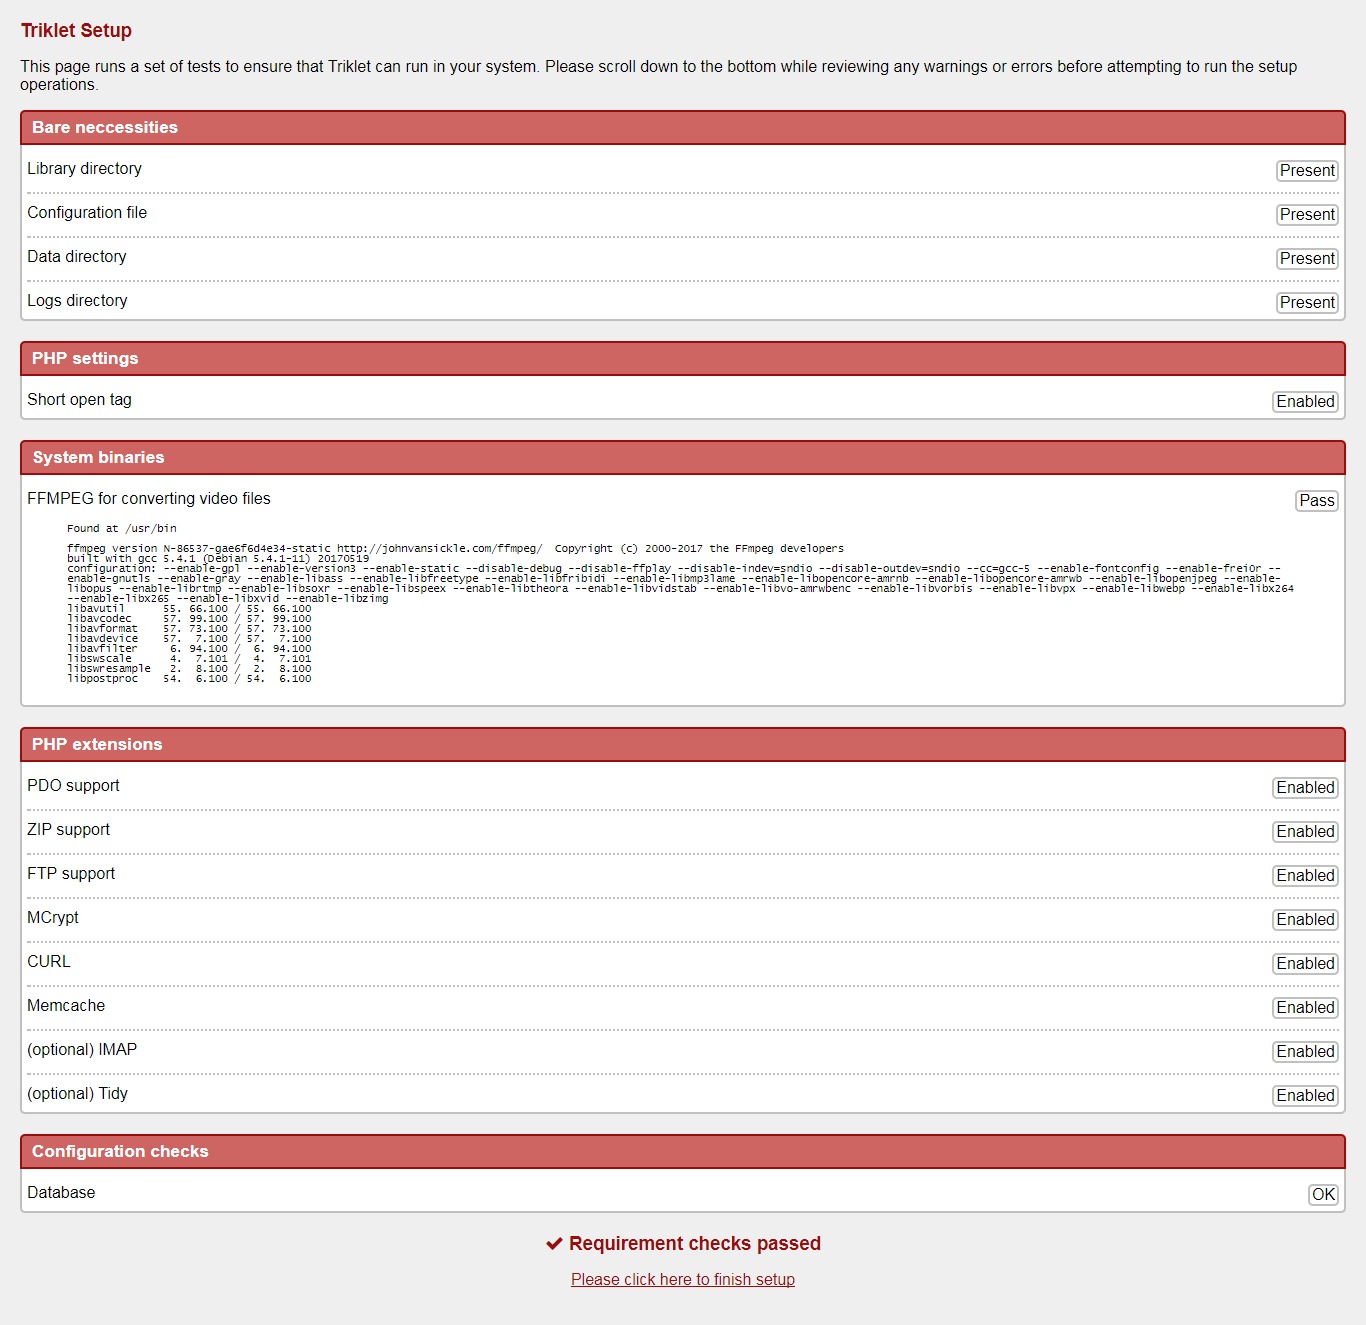
When all checks are passed, just click on the link at the bottom to finish the setup.
Setup cron jobs
Once database tables are created and directories are prepared, you'll get the next screen:
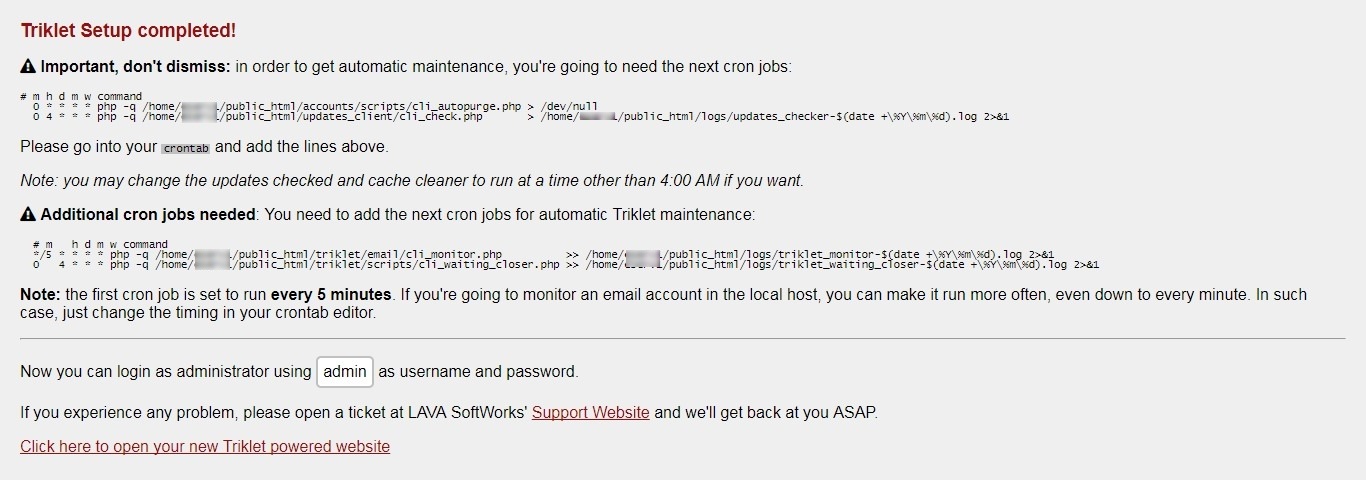
The script cannot install cron jobs for you, but based on the gathered setup info it will build the text part you need to set on the cron editor. You should save this info if you can't apply it immediately.
You can add the cron jobs any time from now, but make sure to add them as soon as possible to get started with the Triklet background tasks.
First login and license registration
Point your browser to your triklet instance and follow the next steps:
Hit on the "Login" button: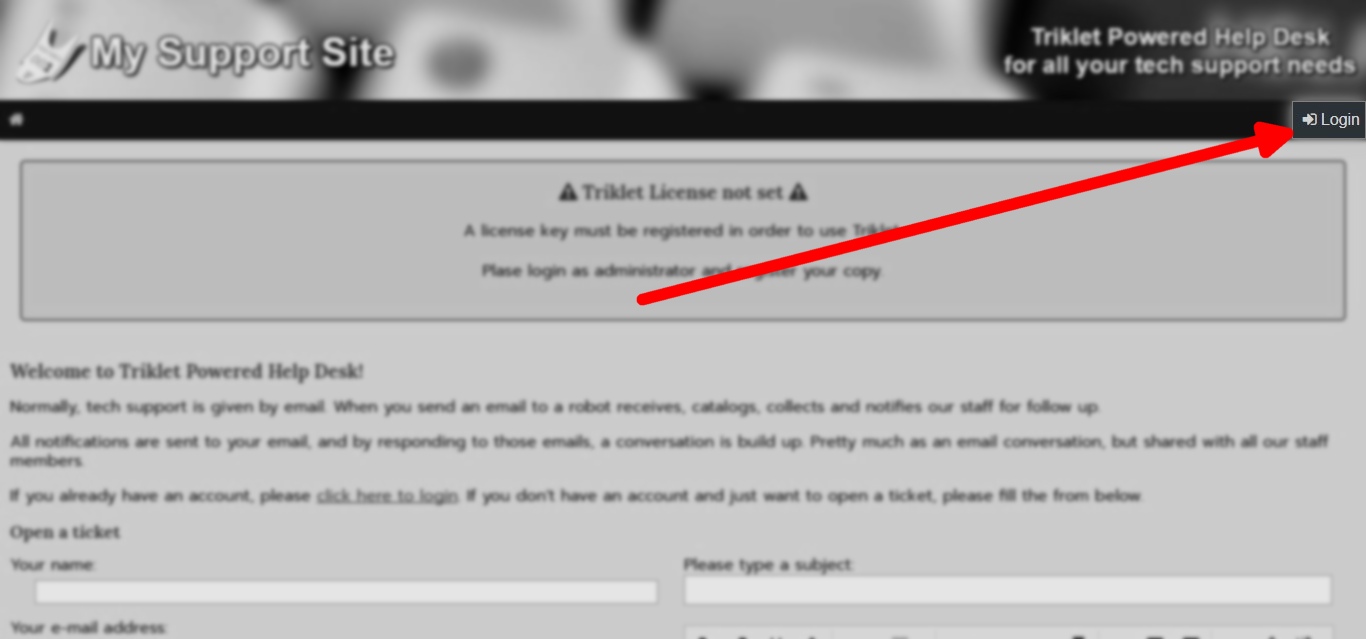 |
Enter admin as both user name and password: |
Fill your license information and hit on "Submit":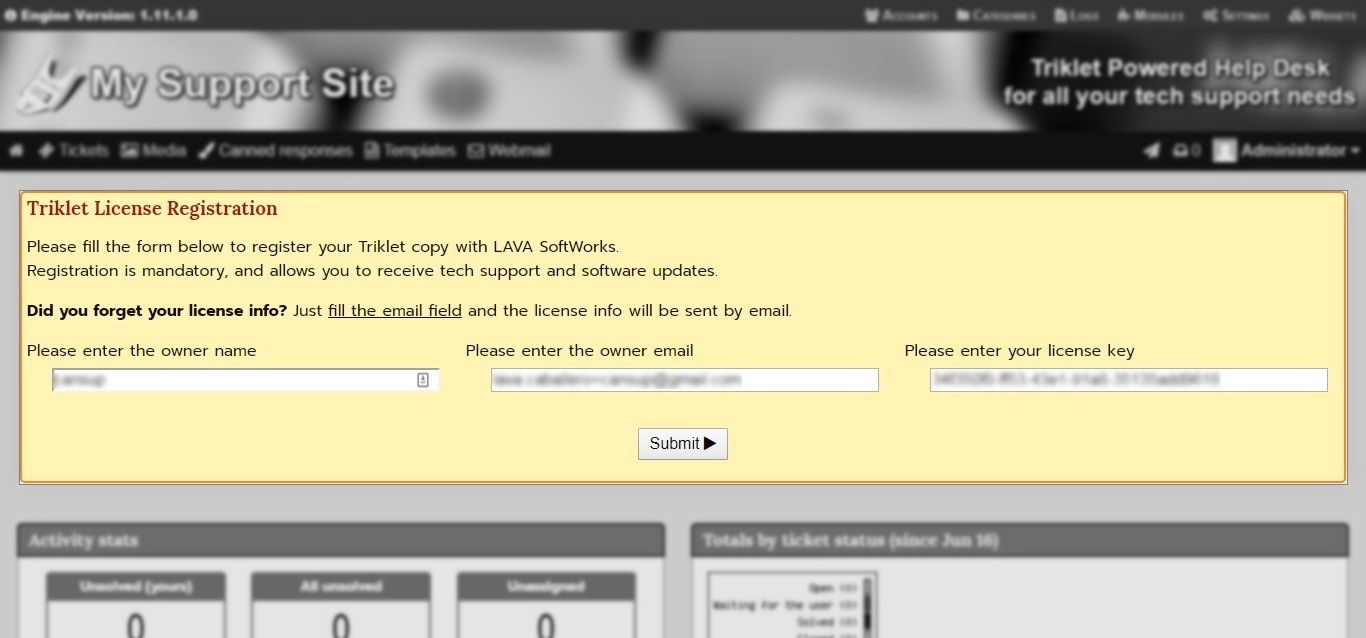 |
You're done!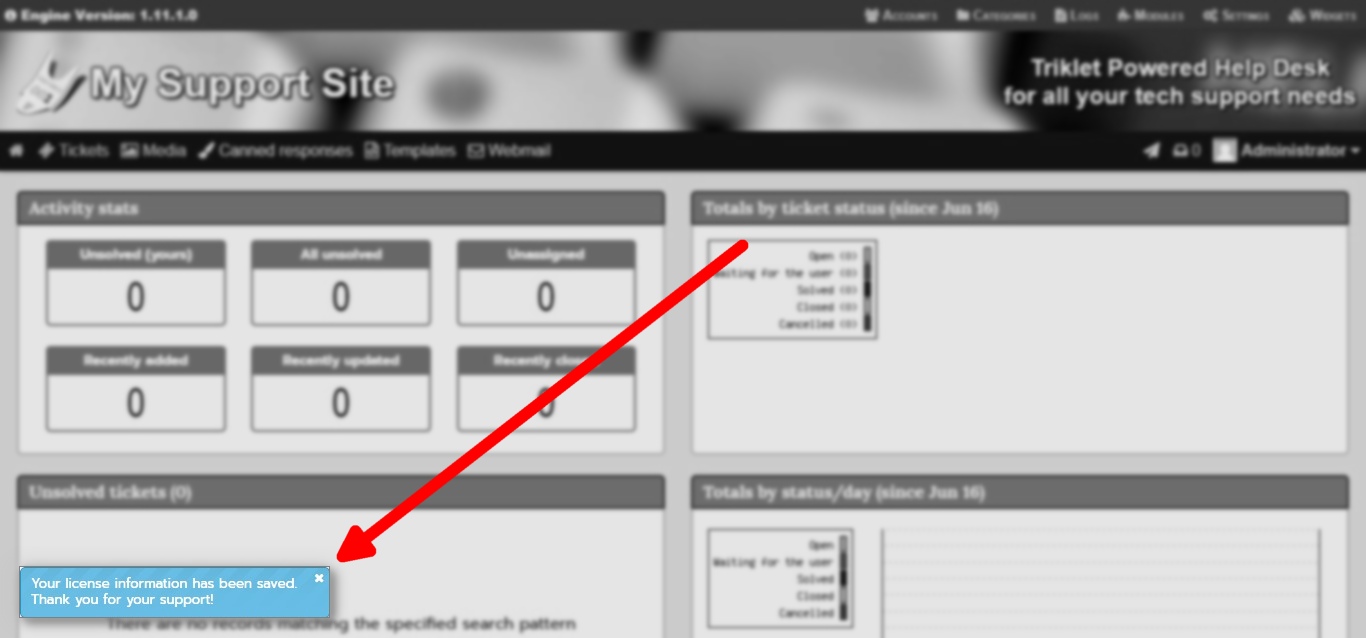 |
Configure and customize
Putting aside all other configuration settings and getting to the most important ones for your Triklet powered website, you'll find here a list of what you must change in order to start running:
-
Engine behavior, presentation and defaults:
- Core/Website name: A short sencence will do it.
- Display and layout/Active template: Pick the one that suits you better.
-
Email: everything here is important. The info you fill here will be used
to send emails to your customers and notifications to you, your admins and agents.
- User settings/User levels: You will see a list of user levels already defined by the Triklet bundle setup. The captions differ a bit from the standard BardCanvas levels, and you can modify them to suit your needs.
-
Form input and uploads: You should set reCAPTCHA keys to avoid spammers hitting
your page. Also, you should define the Maximum upload size which should be in limits
of your
php.inisettings.
-
Tickets:
- Website URL: it should be already set after registering your license. If not, just fill it.
-
Monitoring account: this is the most important fieldset to add. Here you have to specify:
- The email address that is going to be checked by the monitoring robot.
- The host name or IP address of the server where the account is set.
- The user name and password required to login to the inbox.
- Protocol used (POP3 or IMAP), security scheme (plain text, SSL or TLS) and communications port.
Normally, you're going to install Triklet on the same server where your tech support inbox is hosted. In this case, the server would be
localhost.You can test the connection using the parameters you specify before saving everything. Just take in consideration that an excess of retries may trigger a ban on your IP if your server has a brute force detection system.
Congratulations! You're done!
Now is time to send an email to the monitored account address and wait for the robot to create the ticket and notify you.
Troubleshooting
Getting an internal server error or the site looks broken?
It is possible that your Apache server is configured to ignore .htaccess files.
Please check that in your Apache configuration file has the AllowOverride all directive
on the <Directory /var/www/html> section or your website's configuration file for Apache
has a similar setting.
Another thing that may be breaking the page is mod_rewrite being disabled on Apache. Please check with your hostmaster.
Remember: if at any point you get stuck in the process, visit our Help & support page and ask us for help.